Where We Left Off
In my last post, I decided on SlimeVR for my full body tracking option. I had ordered parts, and was ready to build my trackers. Since then, all my parts have arrived, I’ve printed housings, and made some temporary straps to attach all 7 lithium ion batteries directly to my body.
Assembling the Trackers
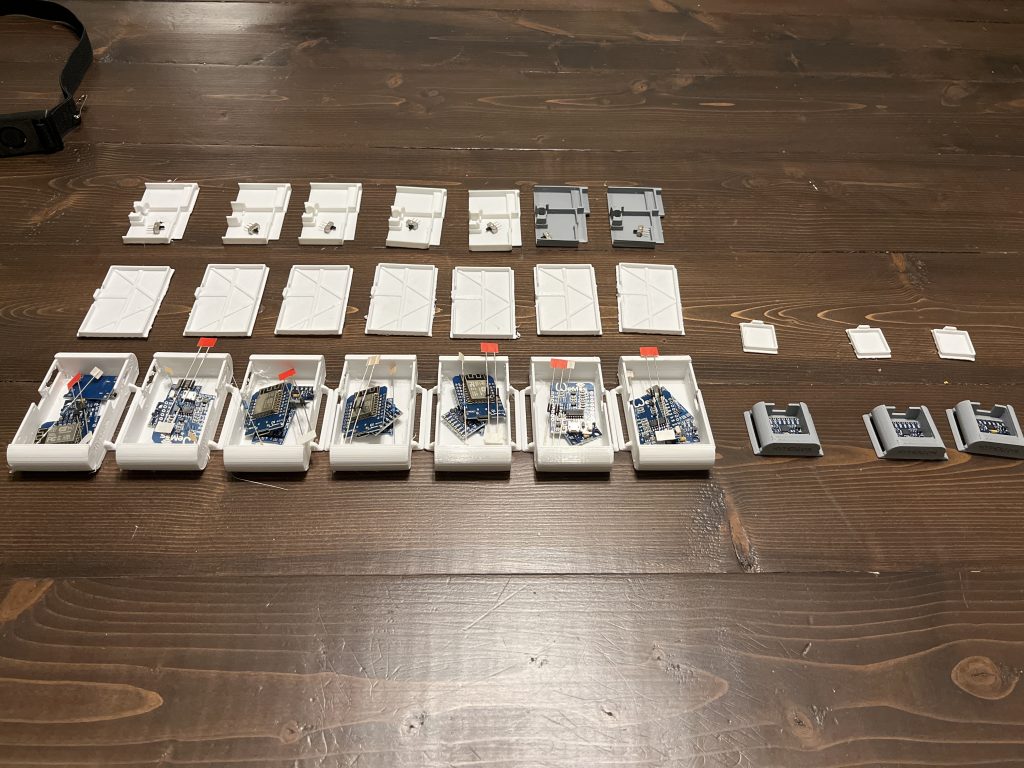
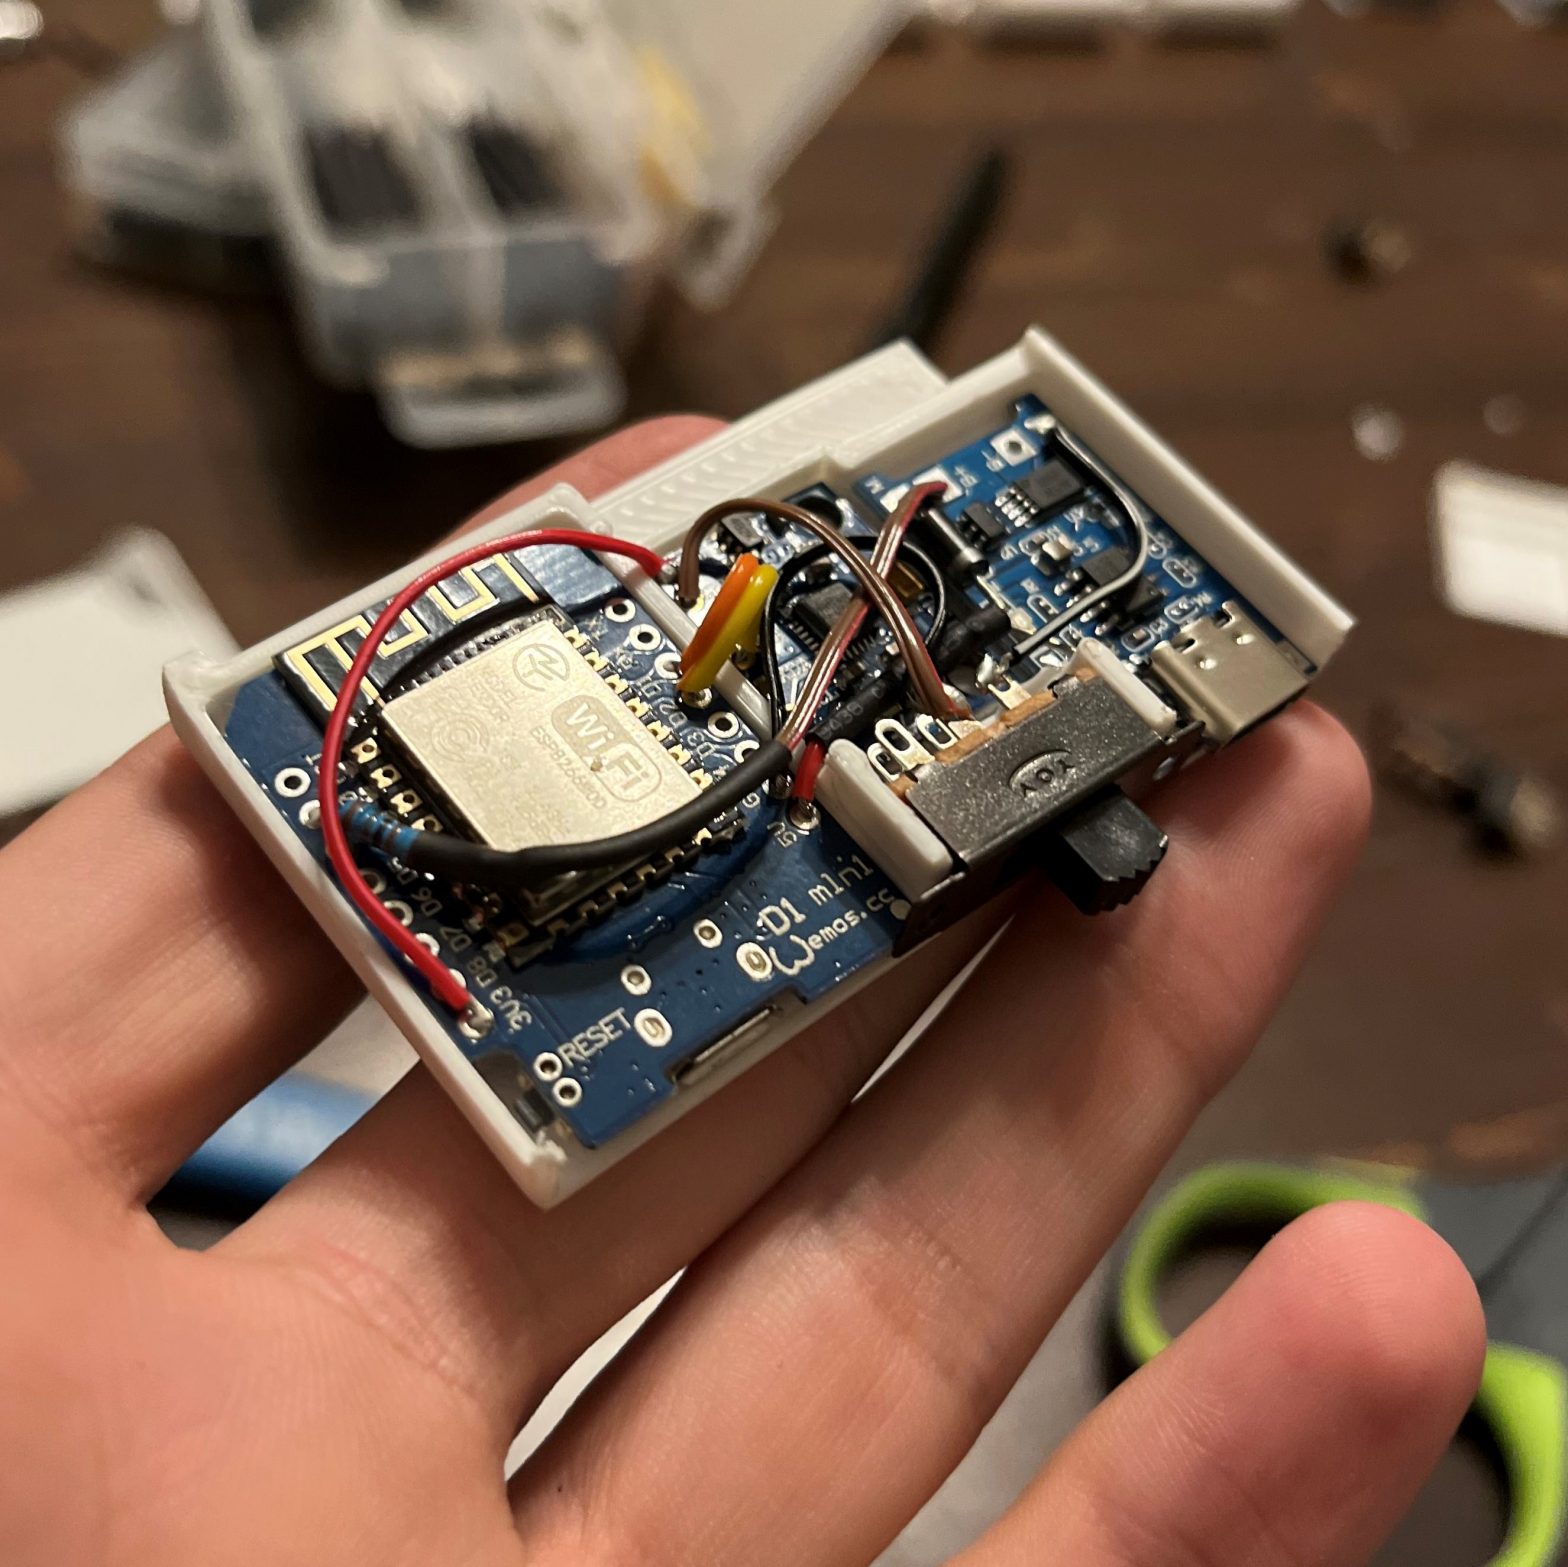
This was a pretty tedious process. Each tracker consists of 4 main components: the main microcontroller (Wemos D1 Mini), the IMU, which contains our gyroscope and accelerometer (MPU6050), the battery management board (TP-4056) and the battery itself (3.7V battery). This is a super simple little box, and only took a few minutes to assemble each one, but because I had to make a bunch of them, it felt like it took forever. The 3d printed trays helped to lay out components, and I bought 15 feet of ribbon wire, which was used for the internal connections and the extensions. In the process of assembling these, I ran into a few issues.
Problems I found
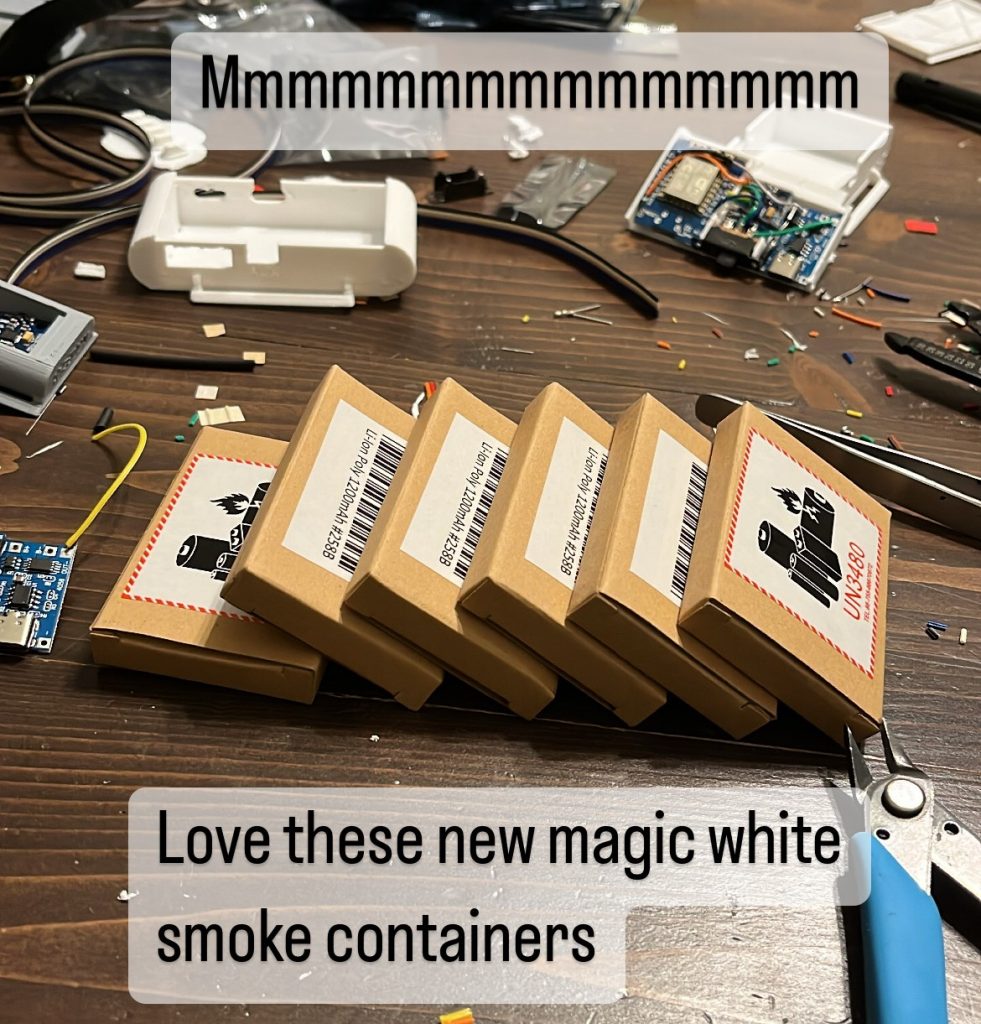
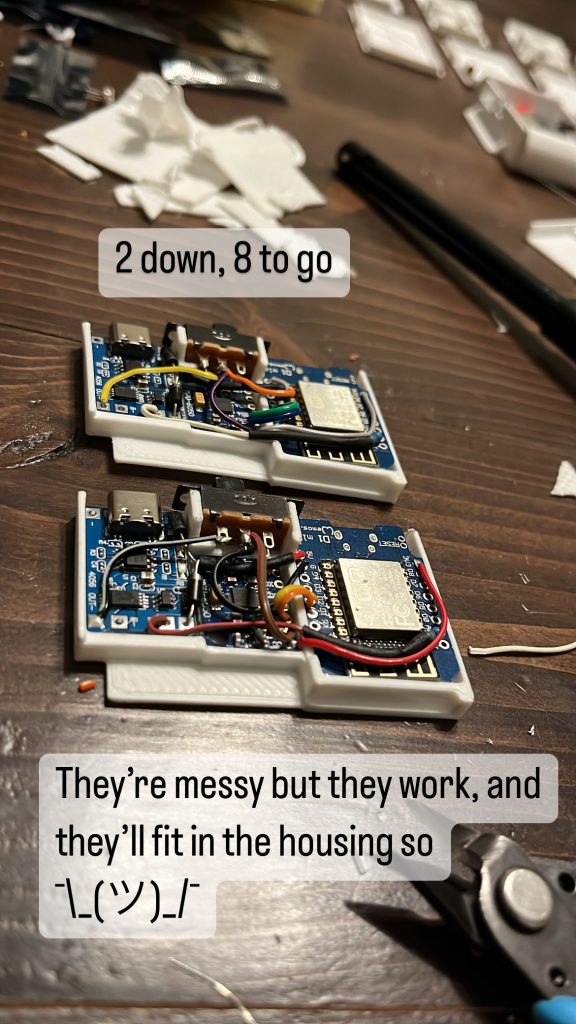
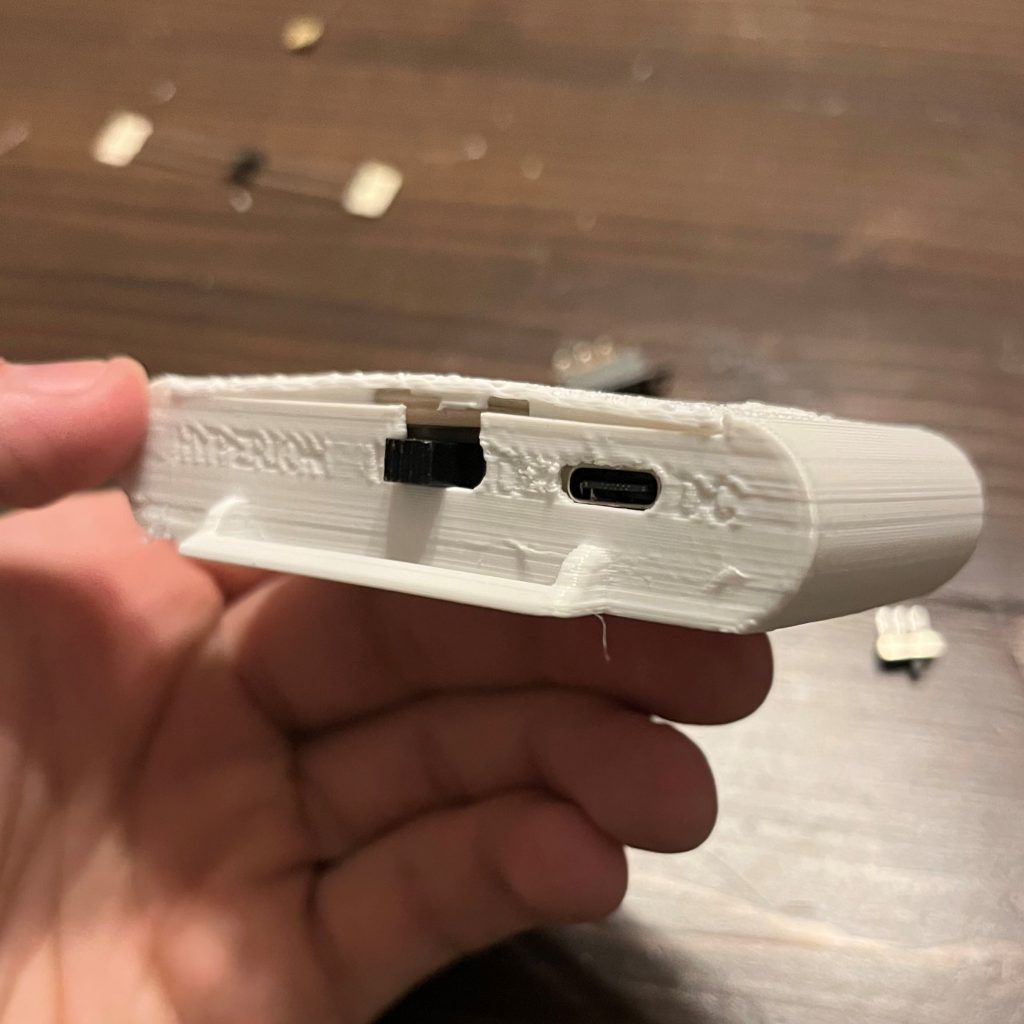
The first issue I ran into was the printed trays that held the components. The slide switches that were listed on the part list didn’t quite fit into the tray. This issue could stem from a few different places, but my current theory is that it came from my printing process. Initially, I printed the Hyperion cases to fit an 804040 battery, but these wouldn’t arrive from Aliexpress soon enough, so I ended up purchasing batteries from Adafruit instead. These batteries have significantly different dimensions, so I had to reprint all the housings. I ran out of PLA material after the initial batch of cases, so I had to print out a second batch of cases with PETG material. I wont go super deep into it, but PETG is a little difficult to print with, and I wasn’t able to tune my settings as nicely as my PLA profile, so the new cases turned out a little messier than the initial ones.
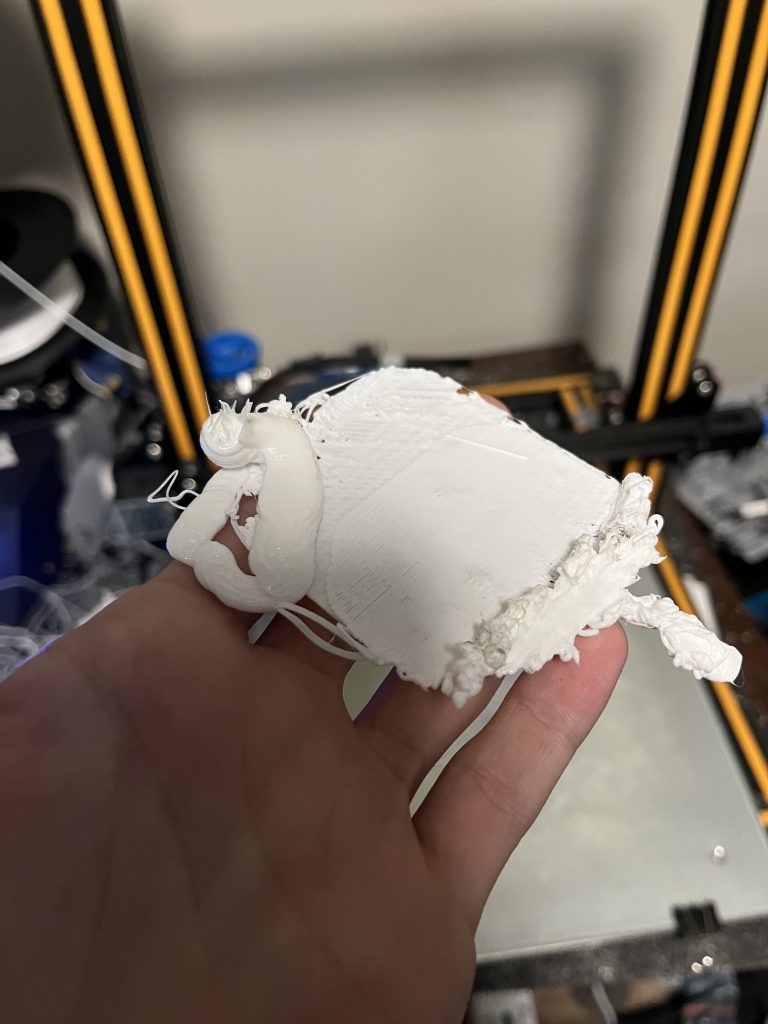
Because of the difference in materials and settings, the tolerances for the slide switch weren’t right. I could either sit there with a file for 20 minutes and trim down the tray by hand, or start a 30 minute print for a different type of switch. I decided to waste a little material and just print new trays.
These new housings were not great. I did what I could to make them work, but the lids still don’t quite fit. They went together enough, and with a little trimming off the lid I was able to get them to close up mostly.
Attaching 7 small explosives to my limbs, and swinging them around
Jokes aside, The straps were actually really easy to make. I had leftover webbing and elastic from making my mandalorian armor, so I used that and a bunch of safety pins to make basic straps to attach them. These actually work great, and I’m quite satisfied with them. I have noticed a little bit of sliding around, because I’m using 1″ straps in slots made for 2″ material. At some point I’ll probably get some webbing and more velcro to make fancy straps that actually fit, but for now its fine.
I charged up all the units, and started flashing the firmware. This process was made a little easier with an online tool made by Butterscotch. I selected the parts I’m using and programmed each board individually. The defines.h file can include your Wi-Fi credentials, which makes pairing really easy.
Syncing the trackers to my PC was an interesting process, because you have to follow a very specific set of instructions which weren’t easy to figure out.
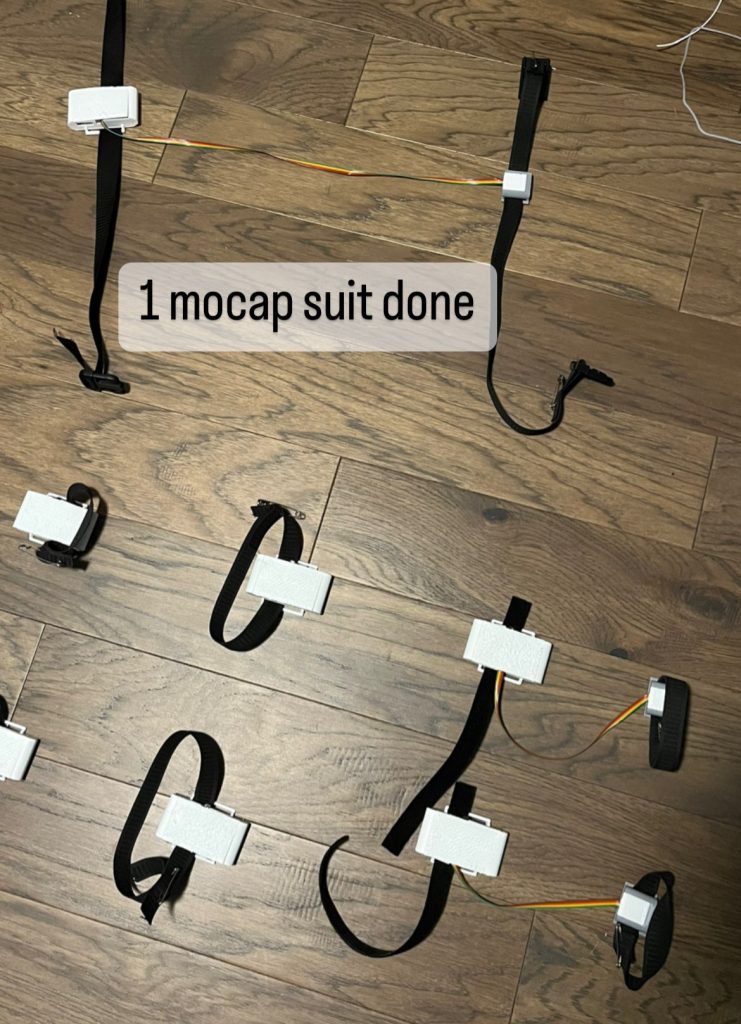
- place all trackers flat on the floor, like in the image above.
- turn on all the trackers, but keep them still and on the ground. let them sit for about 30 seconds. They should now appear on the SlimeVR server application.
- Put on the headset and trackers.
- jiggle each tracker individually, and look at the server app to find which one you’re playing with. Assign it to the corresponding body part, and select the mounting orientation. For me, I started with all trackers facing forward, but eventually I changed the upper arms and thigh trackers to be mounted facing left and right rather than forward.
- stand facing forward (I pointed towards my desk) and hit the reset button. This will take a few seconds, but then it syncs each tracker to the virtual skeleton created by the SlimeVR server application.
- Use the SlimeVR Skeleton Overlay to match up measurements in the server app to your real body proportions. At first I tried actually using a measuring tape, but it became easier to put on the virtual skeleton and use the buttons in the server app to adjust the proportions.
- I used VRChat to test my trackers, so I opened the game and stood in front of a mirror to test. After playing for a little while with body proportions and VRChat settings, I got it to a point I’m pretty happy with.
- I used SteamVR to assign a reset button for while I’m in game. This let me stay in the headset and in game but also do a full or partial tracking reset. This gets a little weird with VRChat, sometimes I would reset my trackers wrong and my VRChat avatar would get all twisted up.
This process is a little tedious the first time, but after getting the initial setup down its not so bad.
Fixing Issues
I used the trackers for a few hours, and here were the big issues I found.
- Drift over time
- Uncomfortable straps
- Charging
To fix the drift problem, I purchased Magnetometers. These in tandem with the MPU6050 should mimic a nicer IMU, giving it some sort of sense for magnetic fields. I’m honestly not sure how this works, but if I had to guess, it might use a compass to determine which way the tracker is facing. This, along with gyro and acceleration data probably gives the trackers a bit of a better idea of where they’re at. I added these into the trackers, and they seemed to help with some of the drift. The MPU6050 trackers are unfortunately just prone to drift, so I can’t do a whole lot more than this. I could at some point change the trackers, but for now this’ll do.
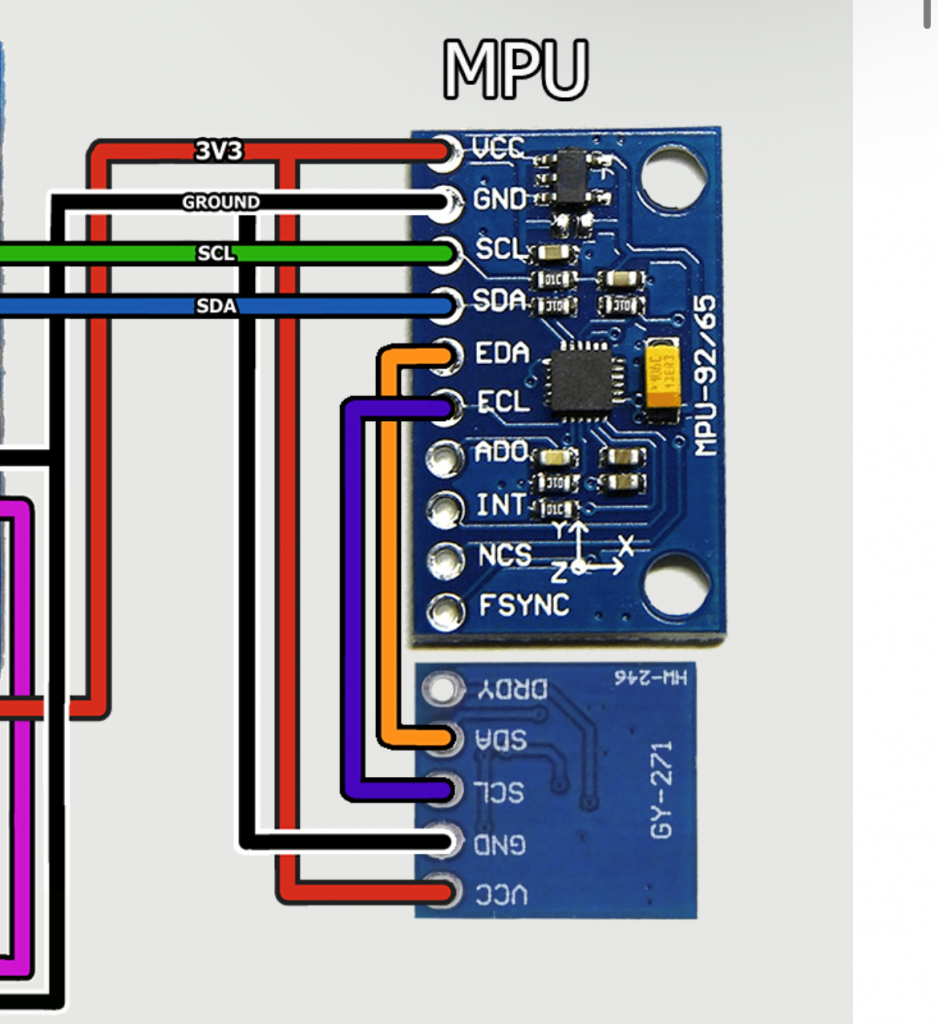
Adding the magnetometers made things a little more complicated, because you have to calibrate them first. I had to turn them on (on a flat surface) facing down, then flip them face up and let them sit for about 20 seconds. Then, I picked it up and rotated it around for about a minute, trying to let each side of the tracker face up. I’m honestly not super sure what is the right answer, there really isn’t a lot of great material about how to calibrate the magnetometers.
I had to loosen a lot of the straps, and switch some from Velcro to elastic to make them a bit more comfortable. Again, at some point I’d like to make better straps, or even a full harness of some sort, but for now this is fine.
The charging is something I still have to solve. The main issue is that there are 7 trackers, so 7 batteries to manage. Thankfully, I had enough USB-C cables that I just plugged them all in around my room, but I think a better solution might be to get a USB charging hub and a 10 pack of short USB-C cables to make a little charging station.
What’s Next?
This concludes Version 0 of my tracking system. Next, I’d like to make a custom PCB and housing to better fit my needs. The PCB would need to include mounting points for each development board, as well as connectors to better attach the auxiliary units. I think I’ll lay out this one first, but I still like the idea of making my own board from the ground up. The SlimeVR discord server has a few members who are currently working on some custom boards also, and they’ve been interesting to watch. The SlimeVR Server Application is also being actively updated, so some of my tracking issues may actually be solved in the near future also. For now, I’m gonna continue exploring VRChat worlds and playing with a fully articulated avatar.
Bonus: the full body tracking experience
So this is less related to the actual assembly of the trackers, but I felt it is still worth writing about. I’ve been using VR regularly for about 2 years now, and I’ve gotten pretty comfortable with the weird and creative ways developers solve the issue of legs in VR.
Most games simply ignore legs, making you a sort of floating body, like a Mii. This is fine, and honestly probably the best solution, but there are a couple others worth mentioning.
Some games, like VRChat and BONELAB, use a full body avatar, and automatically animate the legs. These are fine, and as long as you aren’t looking down at your feet the whole time, its okay.
Adding full leg tracking to VRChat was immediately the most immersed I’ve felt since first trying VR. Being able to bend my knees and point my feet, while being subtle and small, made me feel like I was really there. I can’t fully describe the feeling I got, but it felt more real than normal. Even though the world of VRChat is a little cartoony and stylized, something in my brain clicked, and it felt more real than photorealistic games like Half Life Alyx. This was such a surreal experience, I couldn’t help but stand in front of a mirror and stomp around and laugh.
